For the Team Yankee games last month, I had purchased some curtain fabric for a basecloth that I thought would be a good deserty colour. It wasn't, as soon as it was out from under the shop lights it turned out to be shiny and gold. After the games, I put some thought into what would make a better basecloth for a desert table. The commercially available mats look amazing but are quite expensive, so I set out to see if I could make my own.
All of the examples of homemade terrain mats that I could find on the internet use a canvas drop cloth covered with a thin layer of caulk, impressed with sand then painted. I couldn't understand why caulk was used, as to me this would add a lot of weight and expense, so I decided to try gluing sand directly to my golden curtains.
Materials Used:
1.4m x 2.0m curtain fabric
2 x 250mm test pots of Resene 'Camouflage'
60mm test pots, one each of Resene 'Triple Akaroa', 'Half Stonewall', and 'Half Mountain Mist'
1 x 1.5kg bag of bird cage sand
Small amounts of flock and GF9 medium basing grit
PVA glue
With a standard house painting brush, I applied PVA to the fabric in manageably-sized sections, then sprinkled on patches of the GF9 grit followed by covering it with the budgie sand. I use budgie sand for all of my basing because I like the grain size and it's sterile. Once the glue dried, I recovered the excess sand, then repeated the process until I had the whole cloth covered. I learned quickly to avoid applying the glue in rectangular pattern, as I ended up with noticeable borders where one section of glue stopped and its neighbor started.

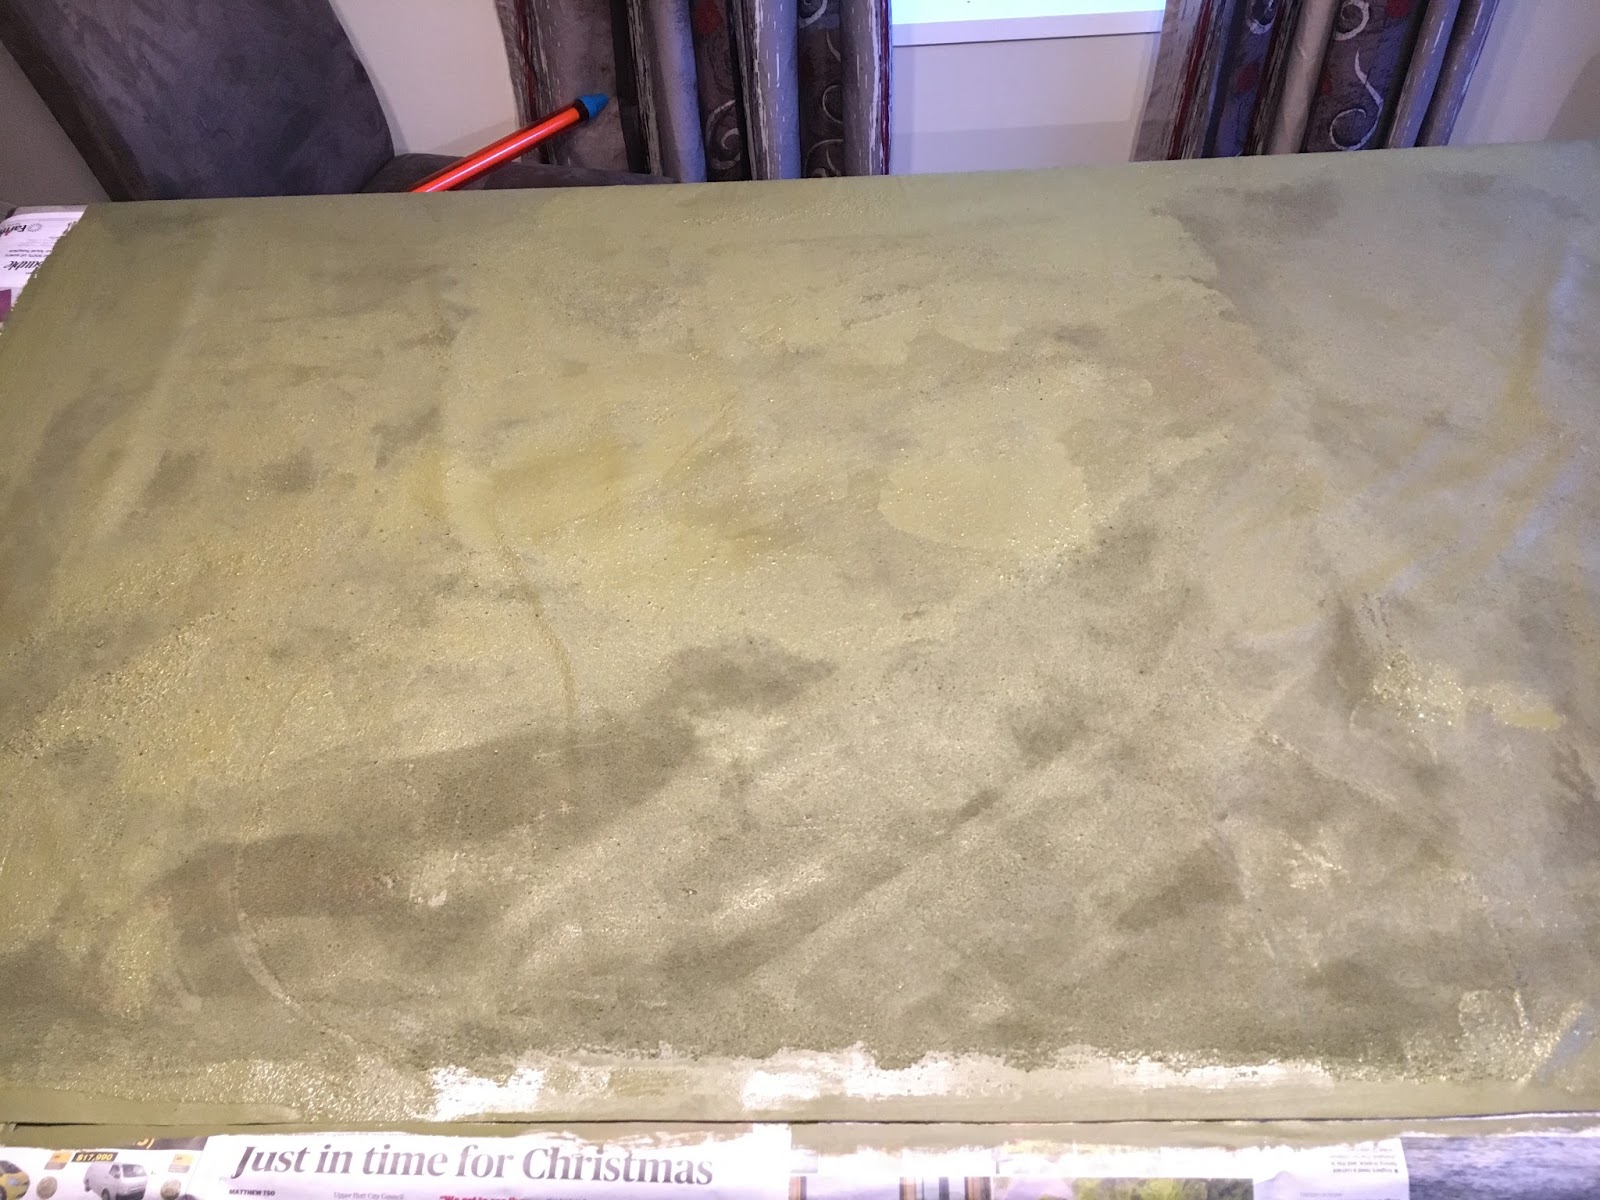
I painted the mat with Resene colours that are close approximations to my desert basing colours: Vallejo Brown Violet, Khaki, Stone Grey, and Deck Tan. The entire mat was first covered with a coat of 'Camouflage' to seal in the sand. 500ml was just enough to cover the mat, with some slight dilution towards the end when it looked like I was about to run out. The basecoat was followed by progressively lighter drybrush layers of the others colours, finishing with small amounts of flock as an accent.
 |
| First coat of paint |
 |
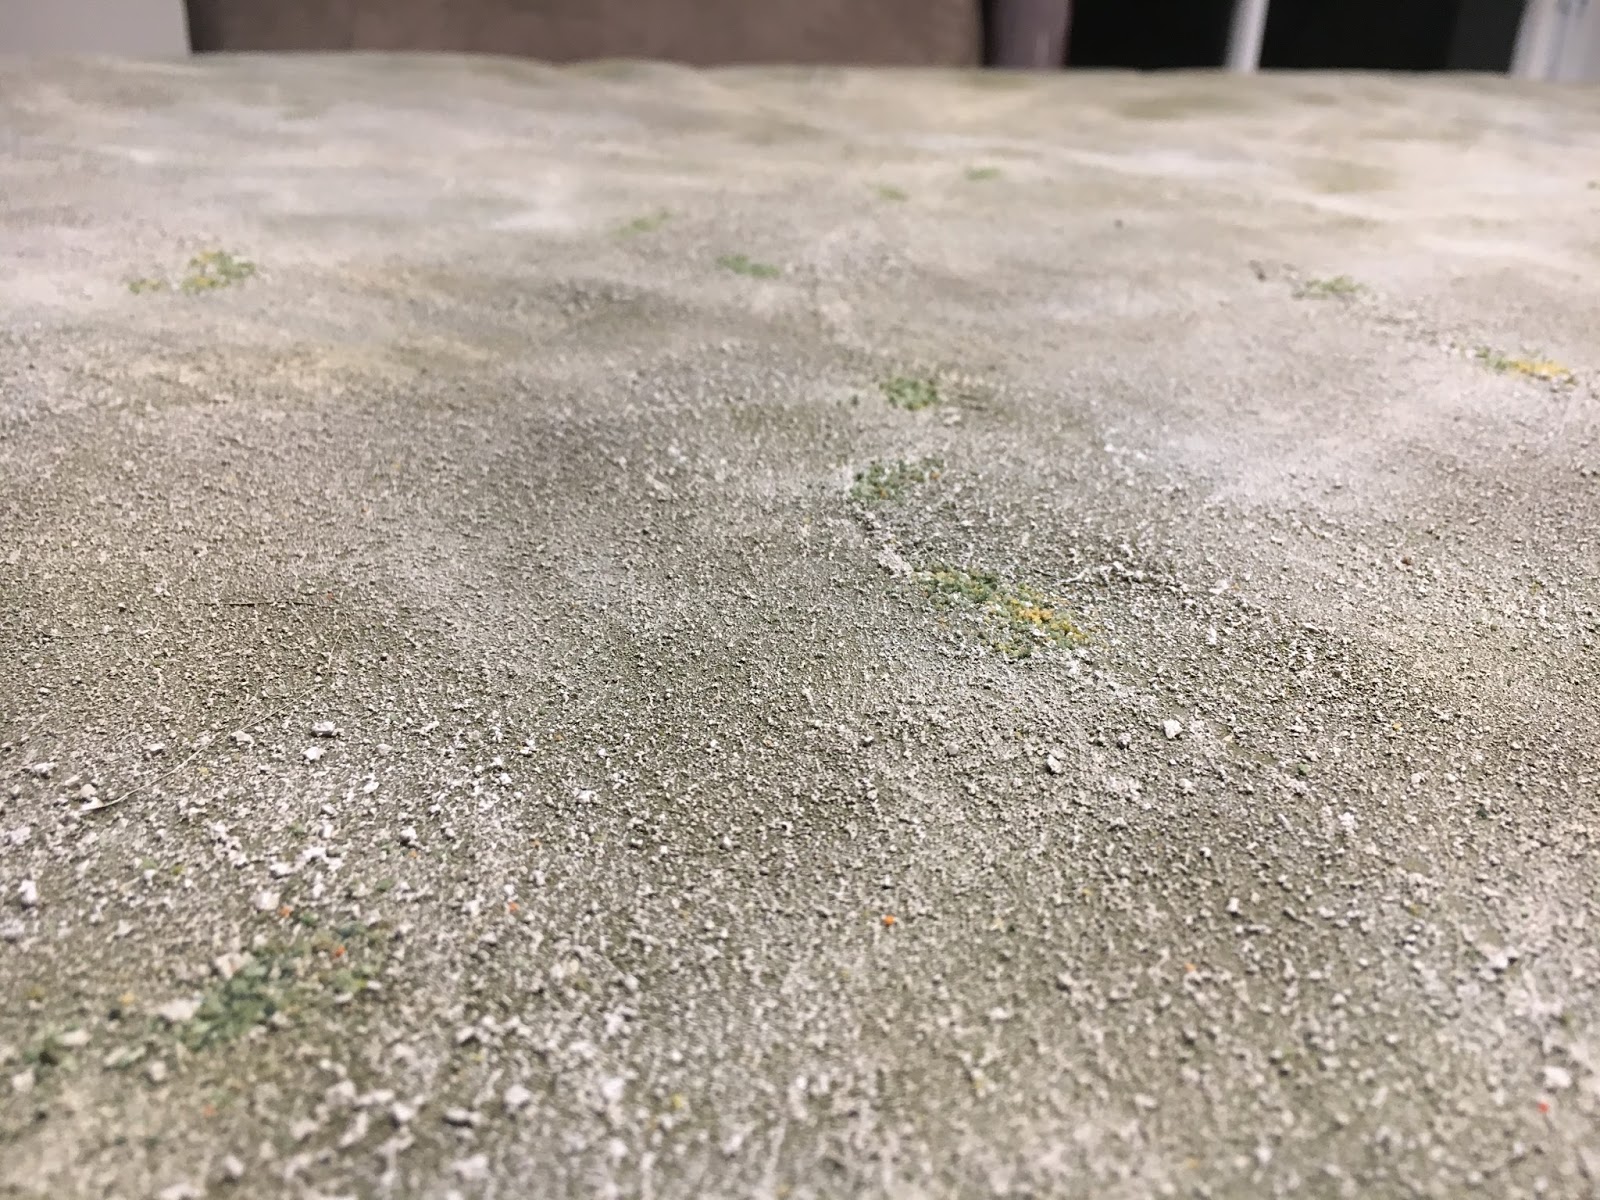
| Working through the drybrushing |
 |
| Finished mat |
The total cost of the project, including the fabric I started with, was about $70, half of that being the paint. I can't really answer the question of why caulk would be needed, but it may be something to do with the weight of the material - mine is quite heavy, whereas a lighter fabric may require caulk to give it a bit more substance. At this stage the mat seems to be able to handle being rolled up without the surface being damaged, but we'll see how it looks after a bit of use.


No comments:
Post a Comment